


The next thing I did was build the cap to the bell siphon. It’s a piece of PVC pipe cut about an inch taller than the height of the stand pipe, measured from the bottom. A standard PVC pipe-cap is press-fitted down over the top end of it. I notched the bottom side that would face the close wall of the tote, allowing for the horizontal section of pipe. That way the cap pipe does sit all the way down on the bottom. This also means that the lowest that the water will ever go is the top of the horizontal pipe; below that, air will come into the vertical column and kill the siphon. The construction of these things is deceptively simple. So is the function of it. However, the key word here is “deceptively”.
A small siphon, like I built here, is particularly susceptible to “stalling”. Essentially, the siphon can hit a state of equilibrium with the incoming flow of water. In one case, the water level hits the top of the stand pipe but never flows fast enough to trigger the siphon effect. So, it just trickles away indefinitely. Alternately, as the bell hits the bottom of the cycle, the water is coming in just as fast as it is draining out, so the water level never quite drops low enough to allow air to break the siphon. Again, it will literally stay that way for hours, until the rate of water flow changes to upset the state of balance Because I built a small system with small beds, I wound up using small pipes. That means I’m working with smaller rates of water flow, making it easier for the system to “lock up” or “stall” into a state of equilibrium.

Once the cap was built, the next thing I did was install the media guard. This is just a larger diameter piece of pipe with several holes drilled into it. This keeps the pea gravel and smaller pieces of charcoal – which float, don’t forget – from interfering with the operation of the bell siphon by blocking the inlets, preventing it from seating on the tank bottom properly and such. Again, a vertical notch was put into the side facing the end of the tote to allow for the horizontal piece of the drain.

One thing to be sure you do is cut the media guard to be at least 12mm/ 0.5in taller than the total depth of the tote. In this case, the totes are 210mm / 8.5in deep, so I should have cut the media guard to about 225mm / 9in. I forgot to do that, and cut it to the same depth as the tote. That means that every time I plant or otherwise disturb the pea gravel top layer, I have to ensure I don’t spill any of the media into the space between the media guard and the bell siphon cap.

Once that was done, since this was the right-hand fish tank I was fabricating, I installed the “T” joint to the outside of the siphon drain hole.
As noted above, the idea is that the left side of the T would be plumbed to the left-hand fish tank, and the right side would be plumbed to a down-fall into the fish tank on the shelf below.
Spilling Water
The next thing I wanted to do was prove I was in the right figurative church, let alone worrying about the right pew. So, I pulled the sump out so it was below the un-hosed T-joint of the first fish tank. I then poured about 25L of water into the fish tank; that should have been more than enough to trigger the bell siphon process, if I had assembled everything as I thought it should be.


And yes, in fact, it did work as I had hoped. As the water climbed to the height of the stand pipe, I clearly hear an initial gurgling noise followed by a fairly substantial rush of water. The entire tote was drained to the minimum depth line in less than a minute.
What I didn’t realize is that because I dumped the water in, I essentially ram-started the siphon process. An aquaponics system would not fill anywhere near that fast, since you want more “dry” time in your cycle than “wet” time.
The reason for this is that you want the roots to get plenty of air. Since we aren’t forcibly diluting O2 into the water using a venturi or some other mechanism, this is how we prevent root rot from setting in. Too much water at the roots is just as bad as not enough.
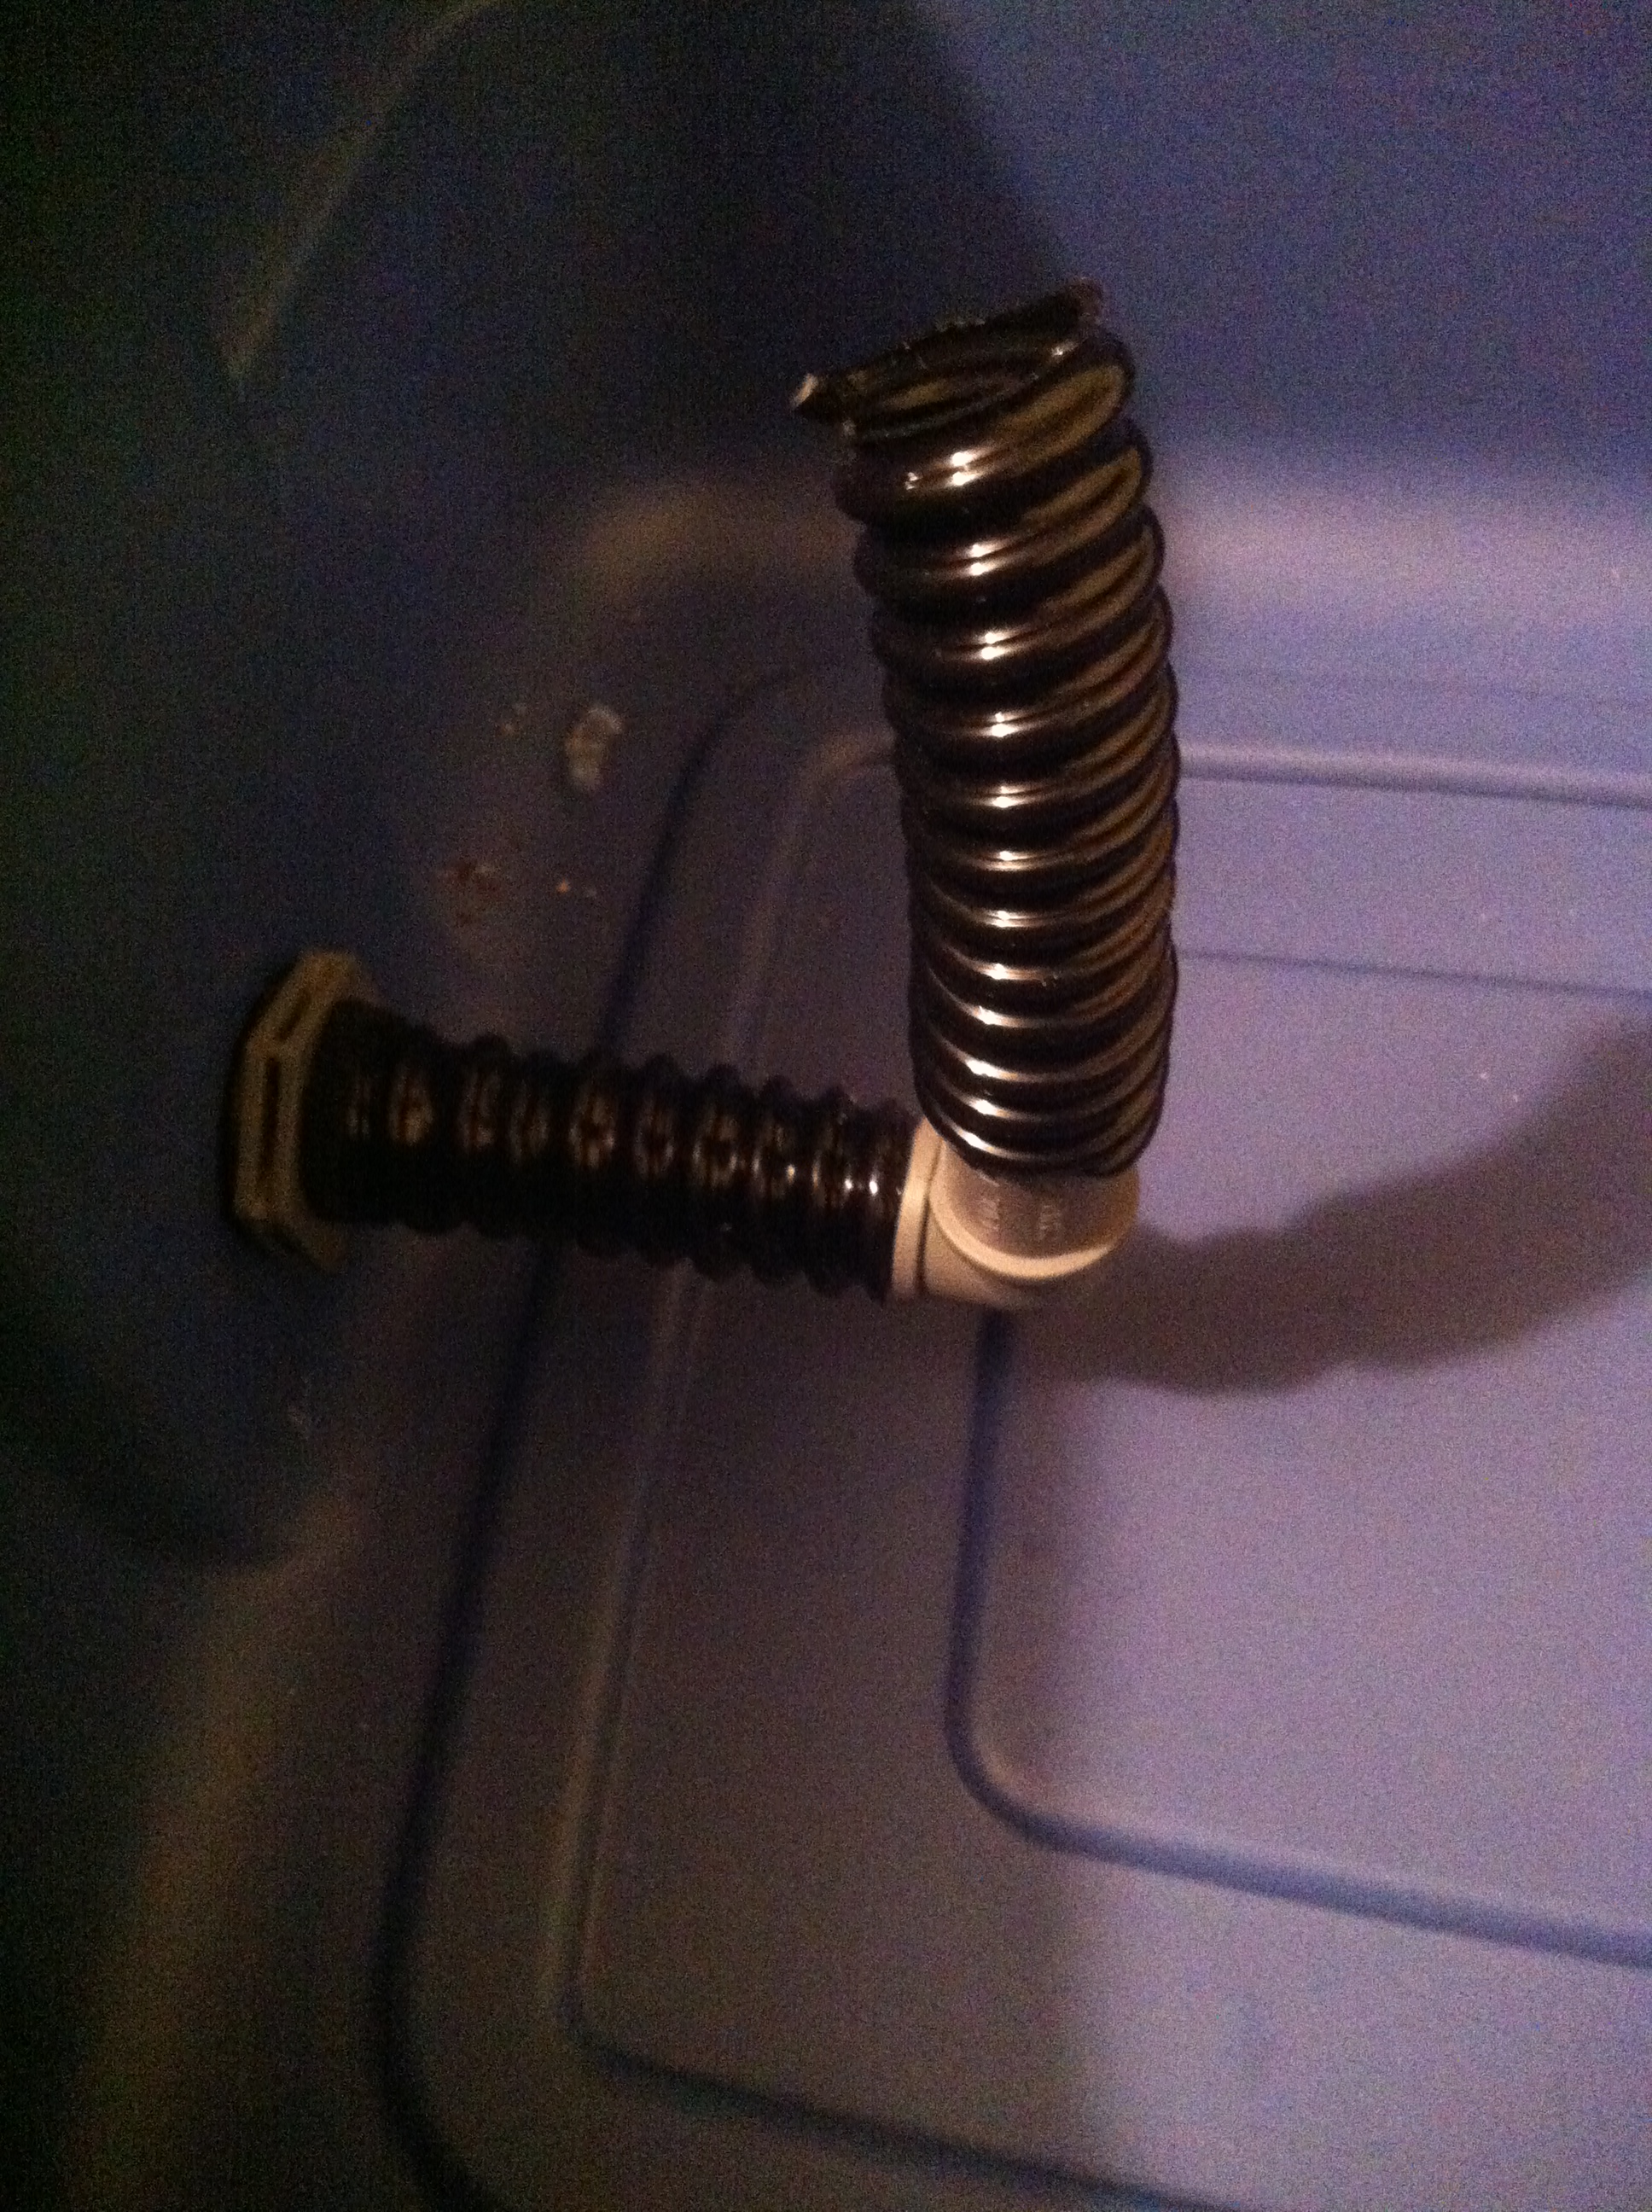
Since I was ram-starting the siphon, the fact that my stand-pipe wasn’t really right didn’t matter. Thus the problem with using the flex-hose for the stand-pipe was not detected in the testing.
Boxes for Fish

Having determined I was heading the right way, the next thing to do was get the fish tank plumbed together. Since I was going to have two tanks worth of water draining into this, possibly at once, I wanted to routes for the water to take out of the tank.
I marked my first set of holes wrong, down at the bottom – mental leftover from laying out the grow beds, I guess – and then marked them correctly about 50mm / 2in down from the top of the tote.

Again, the 1in / 25mm bulkheads were pushed through the holes and made fast in place. Then the drain hoses that would empty into the sump were attached to the outside.
I then took some of the same PVC pipe I used for the bell siphon tubes, and cut a piece the same depth as the tote. I drilled a hole in one end and wedged it between the front most drain hole and the floor of the tote. This effectively runs as a bottom suction. Note that I did not cap the top end, or this would run as a siphon itself, possibly draining the fish tank dry!


Instead, water is pulled off the bottom, hopefully bringing solid materials that have settled with it. This is then carried down to the sump below.
The second drain was left as-is, to function as a surface skimmer. Again, the idea is to ensure that solids in the water get carried down to the sump. By drawing from both the top and bottom of the tank, the hope is that the quality of the fish tank water can be kept fairly high just by using the energy of the ebb-and-flood from the grow beds.
Loading Up

The pump hose runs from the sump up the back of the shelving unit to a gate valve at the top shelf. This allows me to throttle the rate of flow to the grow beds, to prevent the system from running too fast. As I said up above, you need proportionately more time in the “dry” part of the cycle than in the “wet” to allow air to reach the roots.
The line coming out of the gate valve then goes into a T joint and splits left and right to each grow bed. A narrow 1/2 round of PVC pipe with several holes drilled in it is a distribution trough to ensure water just doesn’t “pool” in one place.

So, with all the individual pieces fabricated and tested, it was time to put it all together. Each grow bed was filled to about half it’s depth in charcoal, taking the time to ensure that the under-media drain stayed where I wanted it and that nothing fell into the media guard/ bell siphon.
I then did two or three flood and drain cycles to allow the charcoal to settle itself evenly. Once that was done, the pea gravel was poured on top and raked level, to a total height of about 12mm / 0.5in below the rim of the tote.
The pea gravel was bought in bags from a landscaping department at the local hardware store, and the charcoal. One item of note is that if you do not take the time to rinse both the gravel and the charcoal, you’re going to be dumping an awful lot of dust and mud into your system. That is actually bad, since that will potentially clog up your pump, reduce water flow in your grow beds and piping, and even possibly introduce volatile organic compounds from wherever the mud came from into your system. None of that is good news. So, take the time to rinse and screen your charcoal and gravel at least twice before use.

Once the grow beds were filled with media, I filled them with fresh water. We’re pretty lucky here, running on very good well water. So, I can pretty much go from tap to tank without a break. In a city environment, with chlorinated water, this is another no-no. You will have to let your water stand and “rest” for 24h to 48h before adding it to your system. It also means you should keep a bucket of de-chlorinated water handy at all times for topping off the system, etc.
I triggered each bed to do a drain cycle until the fish tank was full, and had started over-flowing to the sump. I added a couple more buckets of water to run the system again so that the sump was filled well over the height of the pump. I then ran the pump to let it start draining the sump and filling the beds. I added a bit more water directly to the sump to ensure that the low water mark was at least 25mm / 1in above the top of the pump intake.
It was right about then that I realized that the water level in both my grow beds were level to the top of the bell siphon cap, and both out-fall pipes were trickling water out in a never-ending stream. The bell siphon wasn’t shutting off. Something was clearly wrong.
To be continued
I’ll explain in my next blog post how I figured out what the problem was, how I fixed it, and where I am with the system now. For those of you who hate suspense, I can tell you it’s happy ending.
Pages: 1 2
[…] on my YouTube channel. If you’re interested in the rapidly growing scene of Aquaponics, and my post from before Christmas got your interest, pop over and have a […]
[…] there! Welcome back to the blog. Back in September 24, 2013 I wrote about the “basement scale” Aquaponics system that I built. It’s been a […]