So, I started off on a Saturday morning. Thus, the following Sunday, I had enough Starter to make bread. The bread recipe I wound up using looks like this:
- 10ml (2 tsp) of unpasteurized honey
- 375ml (1 1/2 cups) warm water
- 625ml (2 1/2 cups) whole wheat flour
- 10ml (2 tsp) salt
- 5ml (1 tsp) baking soda
- 250ml (1 cup) of Sourdough Starter
- 750ml (3 cups) of whole wheat flour
- 10ml (2 tsp) real butter
- Dissolve the honey into the warm water.
Add the second group of ingredients, and mix thoroughly.
Add the third group of ingredients, and mix thoroughly. When dough easily pulls from the sides of the bowl, move to a lightly floured work surface and knead for 8 to 10 minutes — you’re looking for a smooth and somewhat elastic feel.
Butter the inside of a glass bowl, and move the dough ball into it. Roll it a couple of times to cover the surface of the ball. Cover with a tea-towel and let rise for 2 – 3 hours until it has doubled in size.
Remove from bowl, back to work surface. Punch the dough down and then divide roughly in half. Now, cover with a tea-towel and let “rest” for 10 minutes.
Roll into round loaves; any “edges” should be at the bottom so the top is a smooth surface.
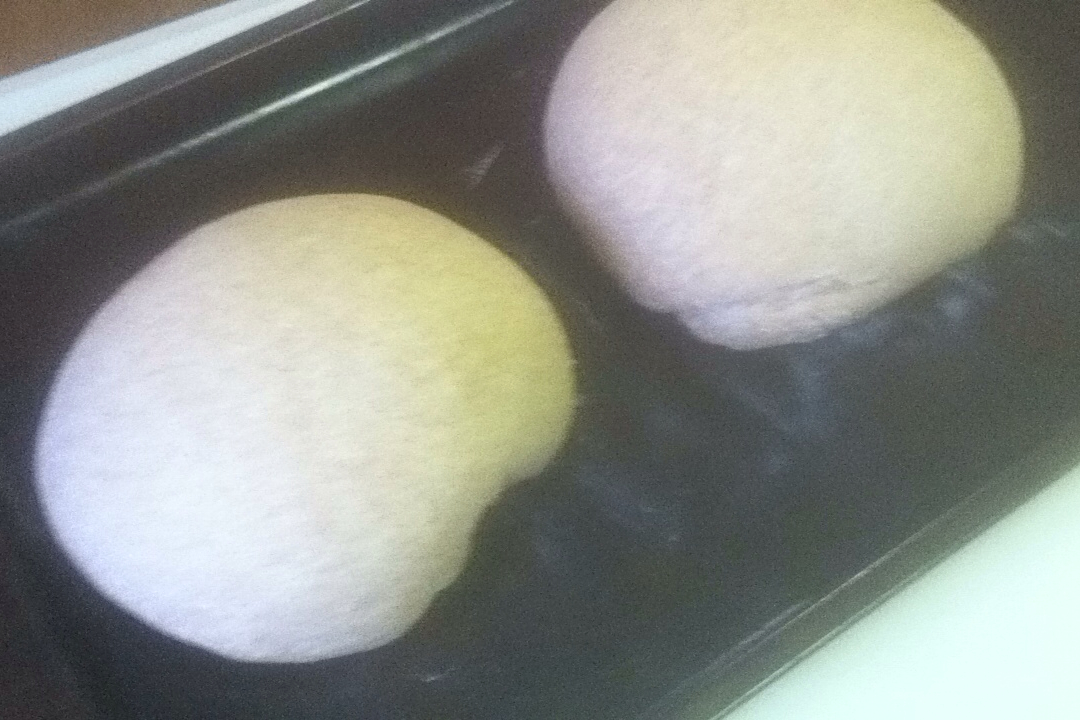
Lightly butter a cookie sheet. Place balls on the sheet, leaving room for them to expand without touching. Place sheet in oven and let rise for 2 hours; this should roughly double the size of the loaves.
Remove tea-towel and bake at 205c (400F) for 20 – 30 minutes. Keep an eye on them; they seem to cook fast.
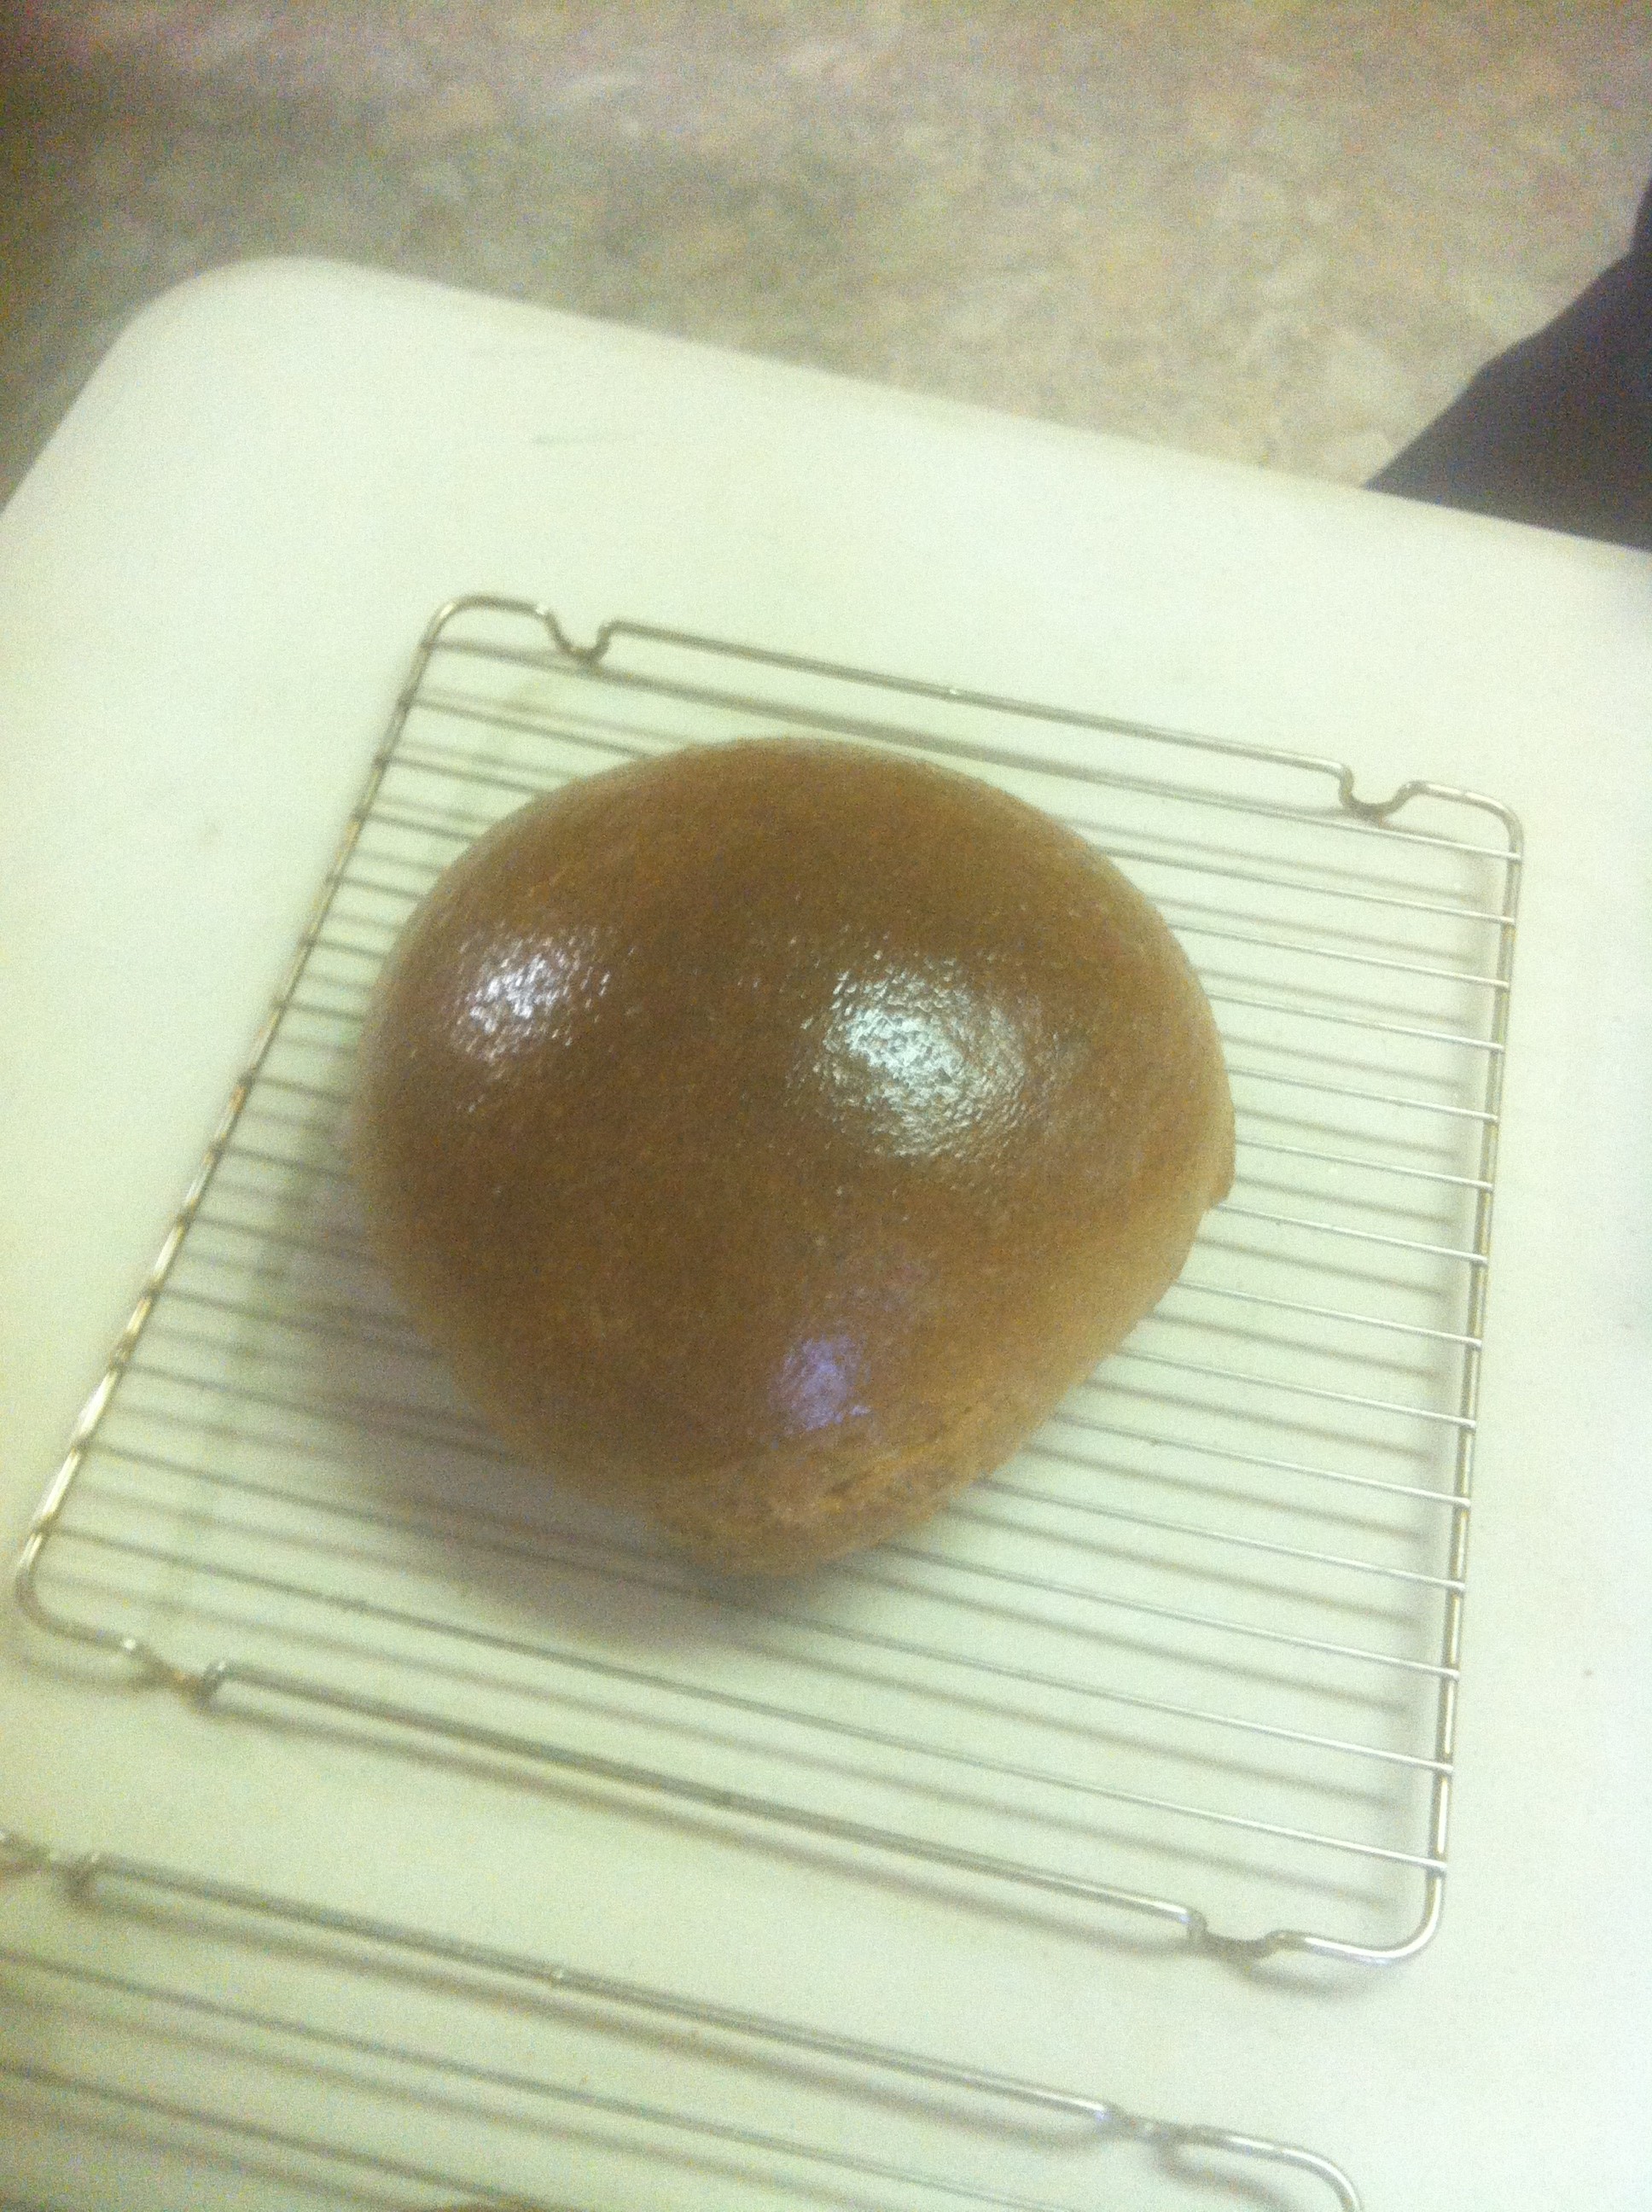
Turn out onto cooling racks to cool. Brush the tops with warmed butter, allowing the butter to melt evenly as a “glaze” over the crust.
Makes two loaves.
The first thing that most keen-eyed bread makers will note is that there is no yeast added here. That, of course, is what the job of the Starter is. The honey-water mix provides plenty of “fuel” to get the added Starter material working away. It’s also the reason that the rise times are fairly long; reaching up to five hours, depending on the local conditions of your bread making area.
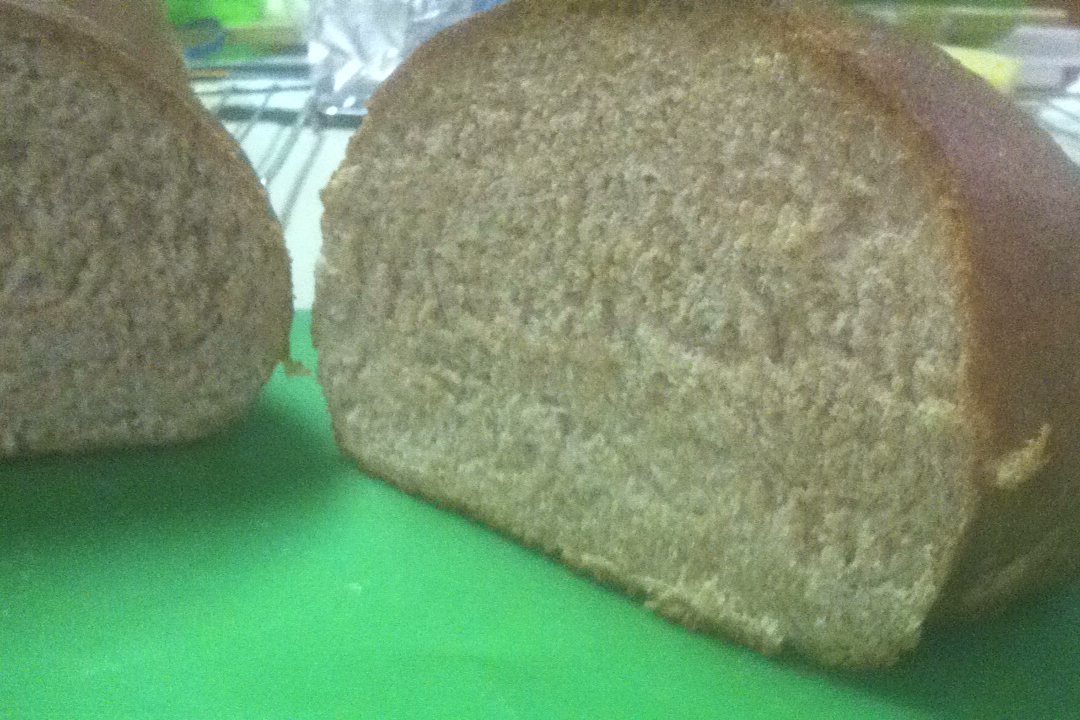
The resulting bread is denser than the “fluffy” store-bought white bread that most of us are used to. The smell while cooking and then cooling is somewhere between bread and beer, at least to the noses of the folks hanging around my kitchen during the test run. The crust is slightly crunchy, but will cut without too much hassle if you have a proper bread knife.
My first 1/2 slice was without butter so I could get the flavor of just the bread as it was. As I noted before, I’ve never made bread by hand before, so I was rather expecting this to taste of cement and be of the same chew-ability. Amongst other things, I wasn’t entirely sure how to properly knead bread, and so by the time I was done learning how to do it, I’d been working the dough almost twice as long as suggested. I also don’t think I’ve ever tasted any sort of a sourdough bread before, let alone one that was “air started”.
Ergo, for reasons of protection of my ego, I was mentally prepared for the first attempt to be valid only as chicken feed.
I was thus very pleasantly surprised to discover that it was easy to chew and very tasty indeed. Richly flavored and actually felt substantial in the mouth. All and all, very positive.
The last thing to do was top off the original bowl of Starter. I added 215ml (3/4 of a cup) each of water and flour, stirred it in well, and then put a lid over the bowl. The bowl was then put in the back of my kitchen fridge to chill down. Chilling the Starter slows the biological processes running in it, so that the yeast and bacterias do not run through their food supply before next Sunday. Each week, I plan on making 2 or 4 more loaves to be served with suppers during the upcoming week.
All in all, I am very glad I decided to try this. The process was fascinating, I’ve learned a good deal, and the results were rewarding.
If you give it a try, please let me know how it turns out for you! I’d love to hear from you in the comments section below.
Cheers all!
Pages: 1 2
Be First to Comment